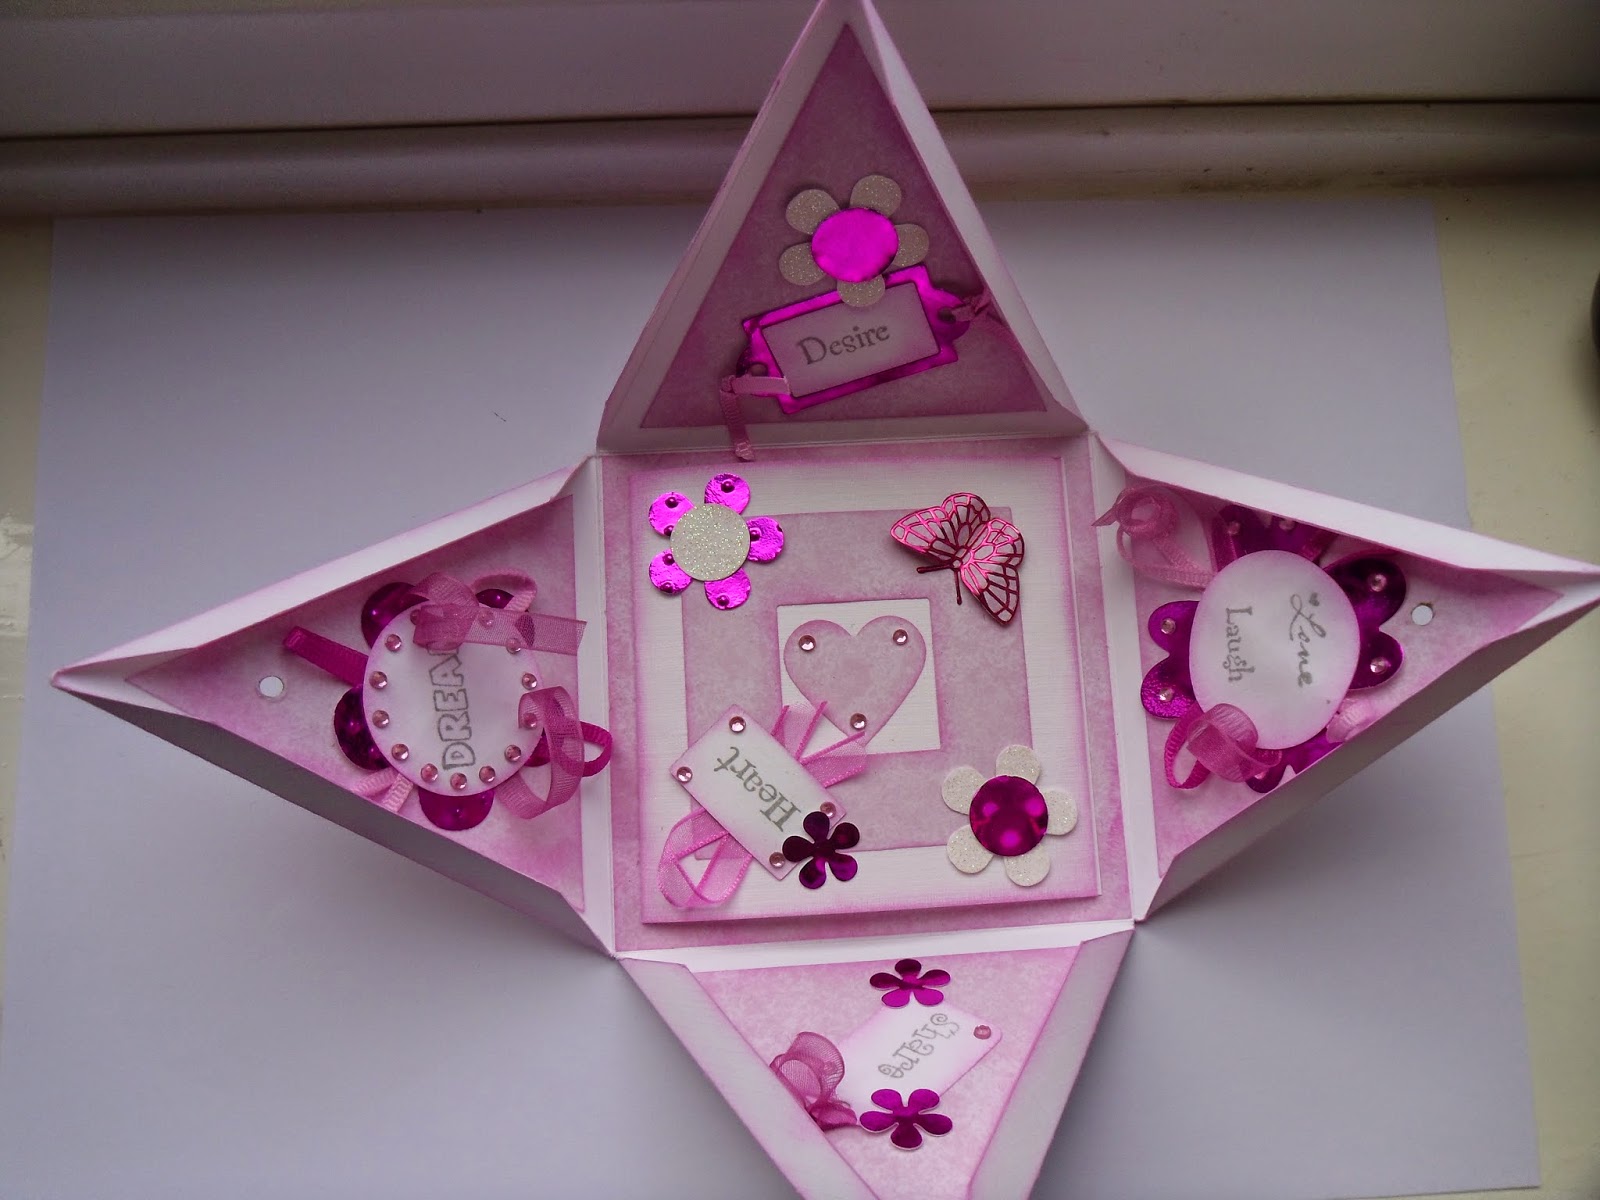
 The close, you will need a 9 cms square of card (or 2 glued together to give extra strength), with a centre section cut out, approximately 4 cm square. On two opposite triangular sides of the box, you will need to make a small hole, approximately 3.5 - 4 cms down from the top point, to enable you to slot a wooden kebab skewer through. I did all my decorations before I made these holes. I cut the skewer down to a length I felt was reasonable, with some overhang either side. I sanded both ends so they wouldn't cause injury, and decorated one end with tied ribbons and beads, just to add interest.
  The photos show how I have decorated mine. I decided on a pink theme, but an ecclectic mix of colours would work equally as well. The square used to hold the box closed also needs decorating, but avoid anything overhanging the cut out centre square, or it will cause an obstruction.
  I'm not a huge 'peel off' fan, but sometimes they have a place. The butterflies perfectly matched one of the metallic pink cards I had chosen to use for some of my flowers. I attached them to the pale pink paper, and cut around them, then shaped their wings a little to give them dimension. As I was using a pale pink paper on white card, I inked all the edges so the mats would 'pop' rather than simply blending into the background. If you use strong contrasting paper/card, you may find there is no need to ink.
 The box could be used to hold a gift, or, as I have done, hold a card in its base.
 When you've had a go at this particular box, why not try different sized and shaped pyramids. You still need to use the initial principle of 9 squares, but your first score lines to produce these 9 squares, will vary. So for example, if you score at 5" and 7", you will have a taller box with a smaller base, or 3" and 9", a shorter box with a larger base. As long as you score an equal distance from your mid point along each side, everything will fall into place. Try an 8" or 6" square of card to produce even smaller boxes.
When I was in High School, I had a brilliant maths teacher who had us making these around Christmas time, although the 1 cms flaps were completely glued up rather than using a skewer to secure. We would make four pyramids and a cube for the centre, to stick these pyramids to, making fabulous star shaped Christmas ornaments.
Have fun !
Christine.

No comments:
Post a Comment